How To Add a Pop-Up Email Capture Form to your Website
In this guide, we’ll walk through how to add Popover or "Pop-up" email signup forms to any website using the Audienceful form builder (free for unlimited submissions).
Popovers / Pop-ups appear on top of your website when certain conditions or triggers are met by your users. They are effective at capturing attention, minimizing page clutter, and providing a seamless interaction without navigating away from the current page. They often increase on conversion rate when compared to embed forms. Common use cases for this type of form include:
- Coupon codes or discounts for new subscribers
- Signup / enter email to continue reading content blockers
- Email capture for users visiting multiple pages
- Exit intent popups
- Event registrations
- And much, much more.
Audienceful's pop-up form builder provides strong bot protection out of the box, tracks your conversion rates, and allows infinitely customizable designs and templates.
If you’re using Wordpress or another website builder, it may be helpful to Google how to add custom code in your site before following this guide.
1. Create your form
If you don't have one already, create a free Audienceful account here.
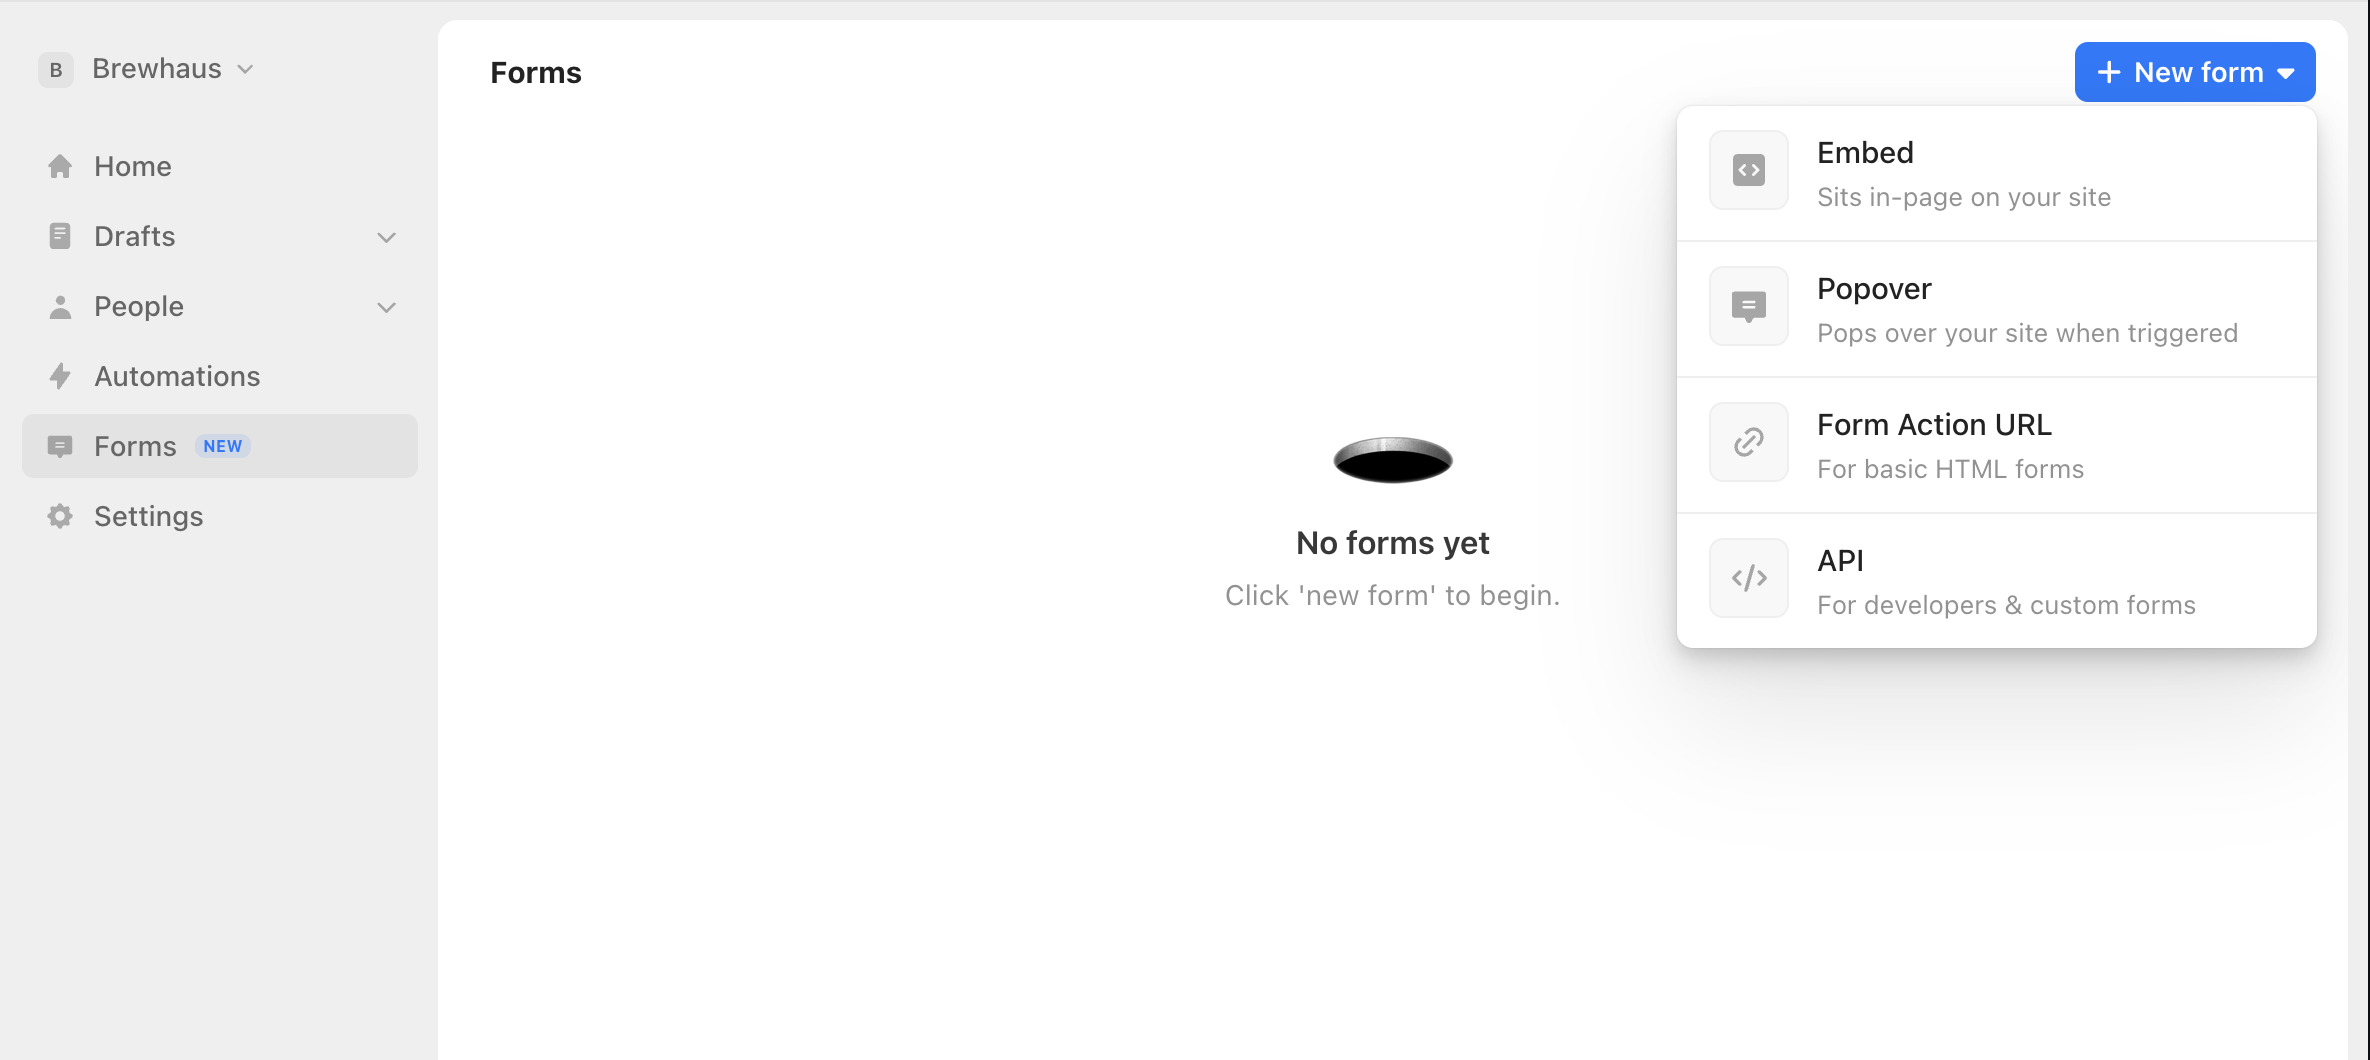
To send signups to Audienceful, you need to create a form. In this case, we'll select a Popover (just the industry term for a pop-up).
2. Pick a template
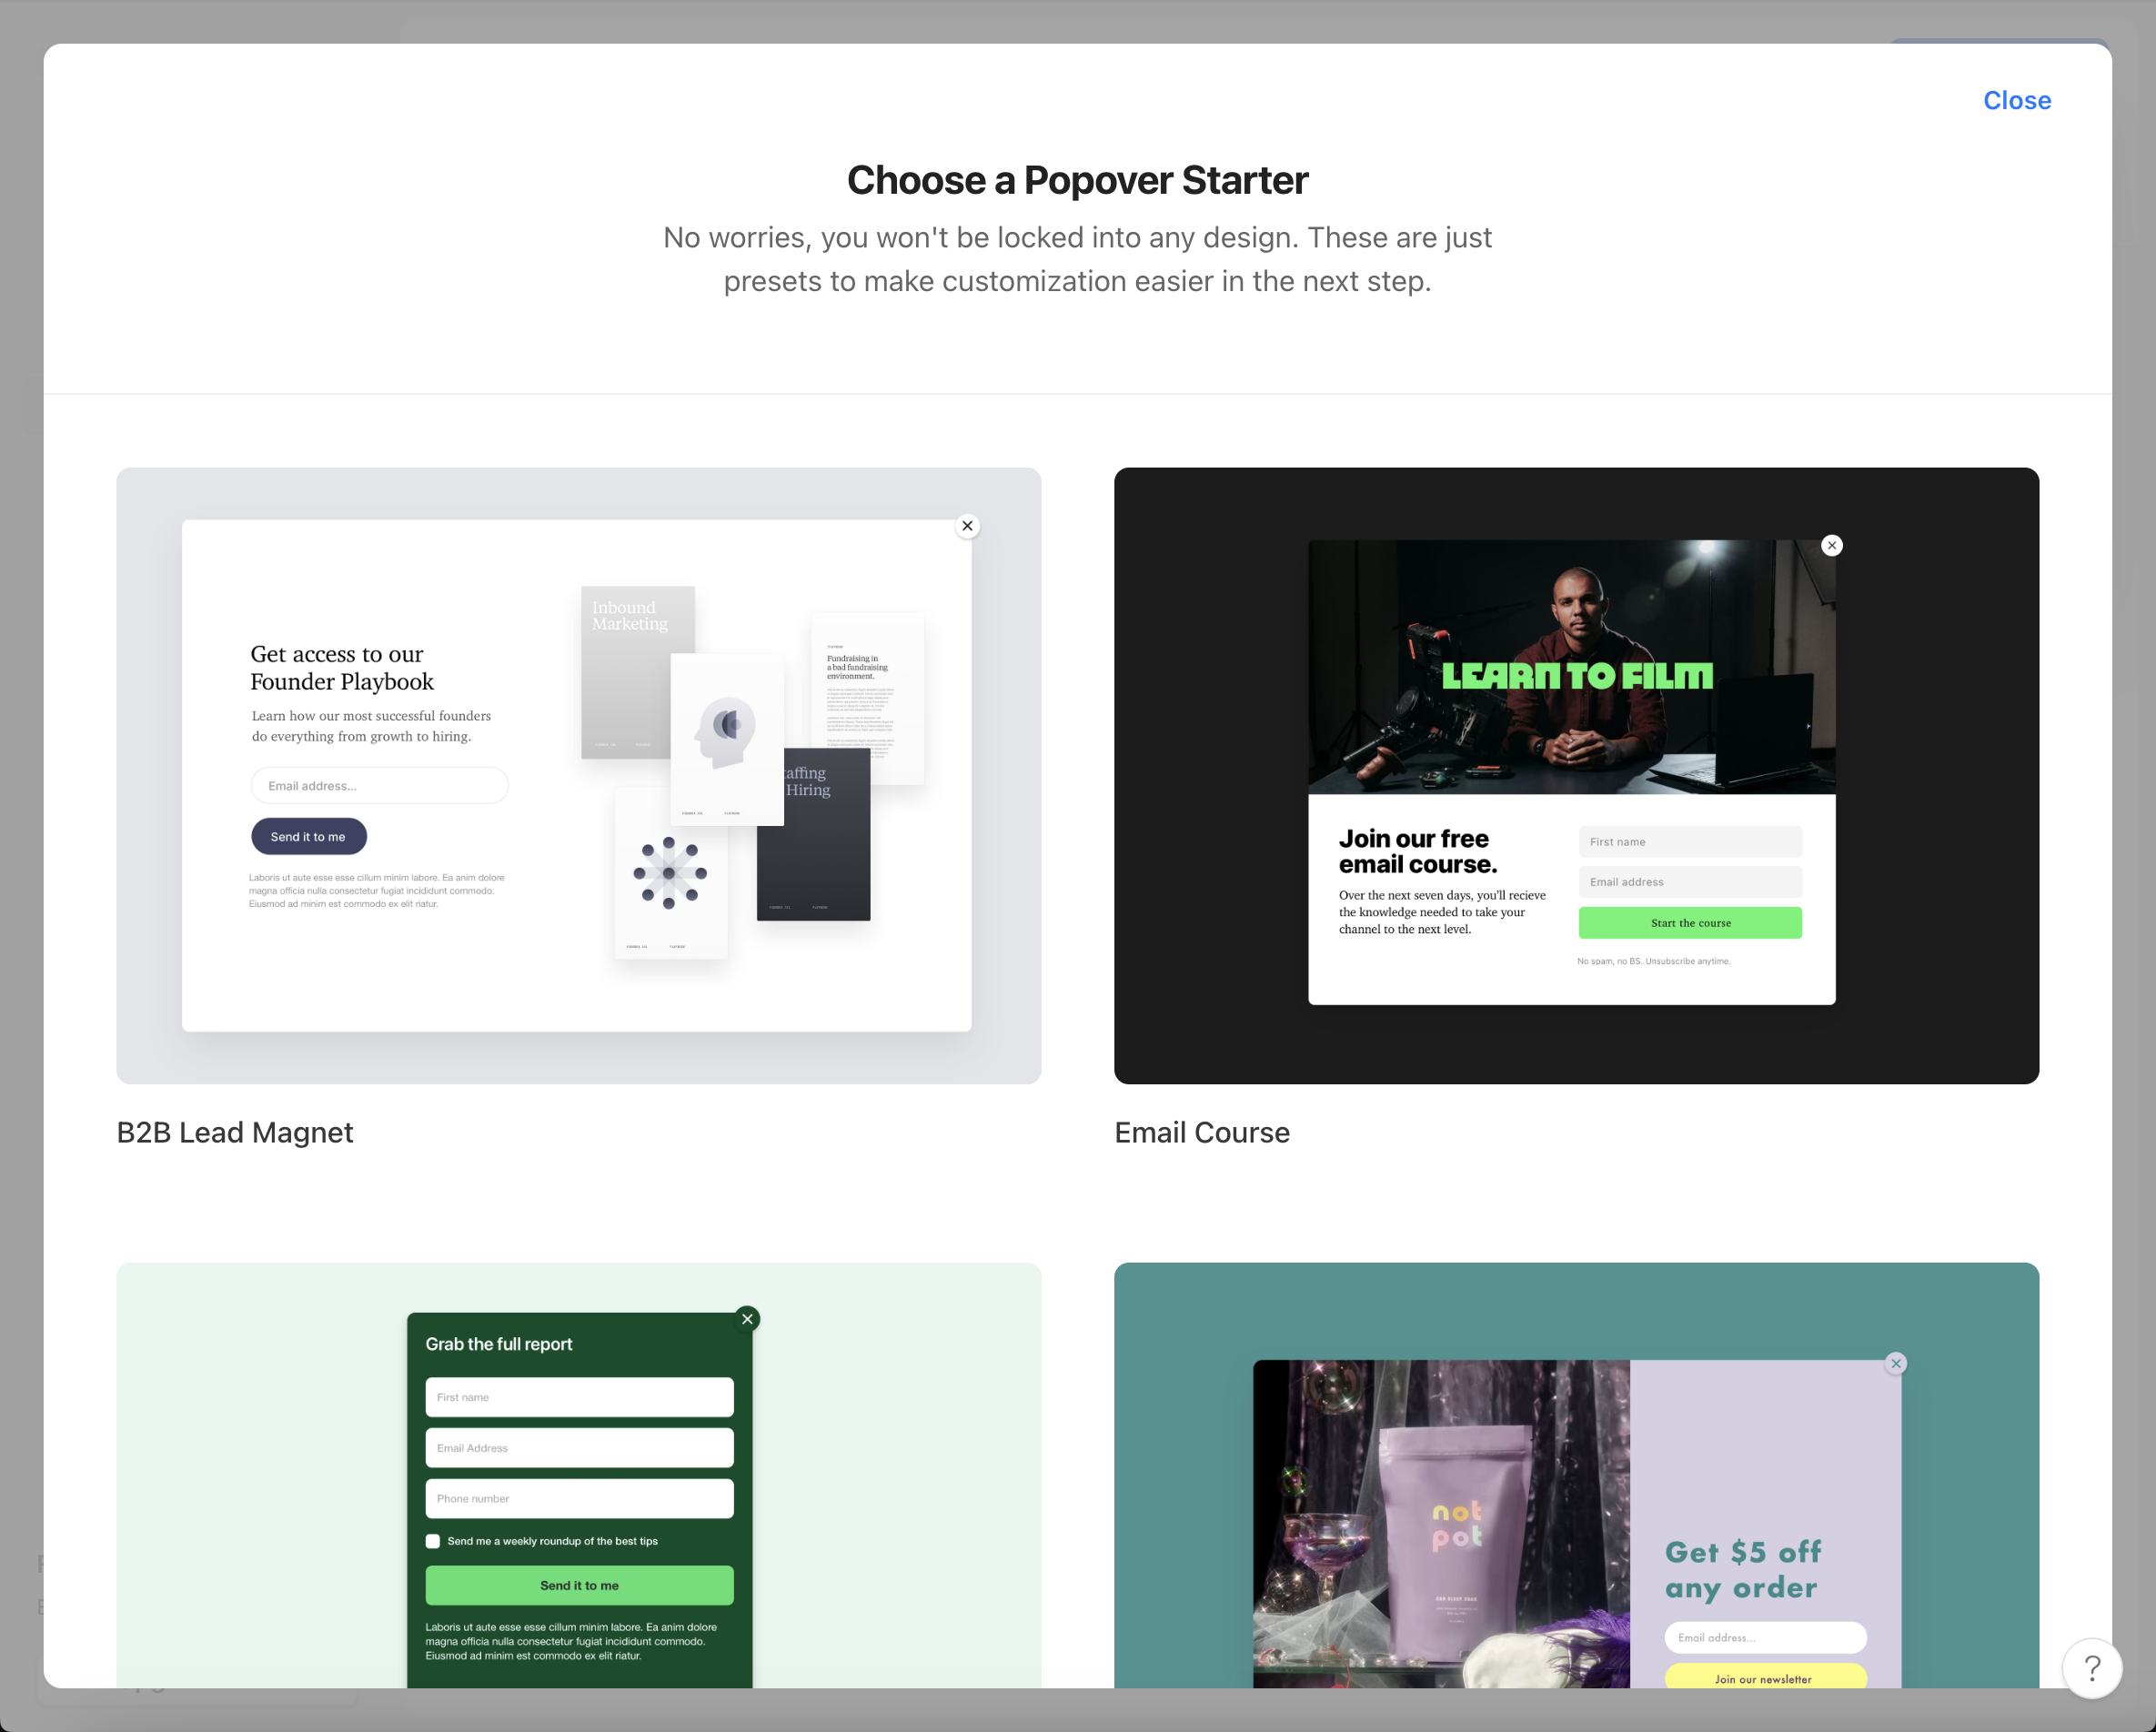
We offer professionally designed templates that are built to maximize your conversion rate. Select a template to start with, and you can customize every aspect of your design in the next screen.
3. Customize your form
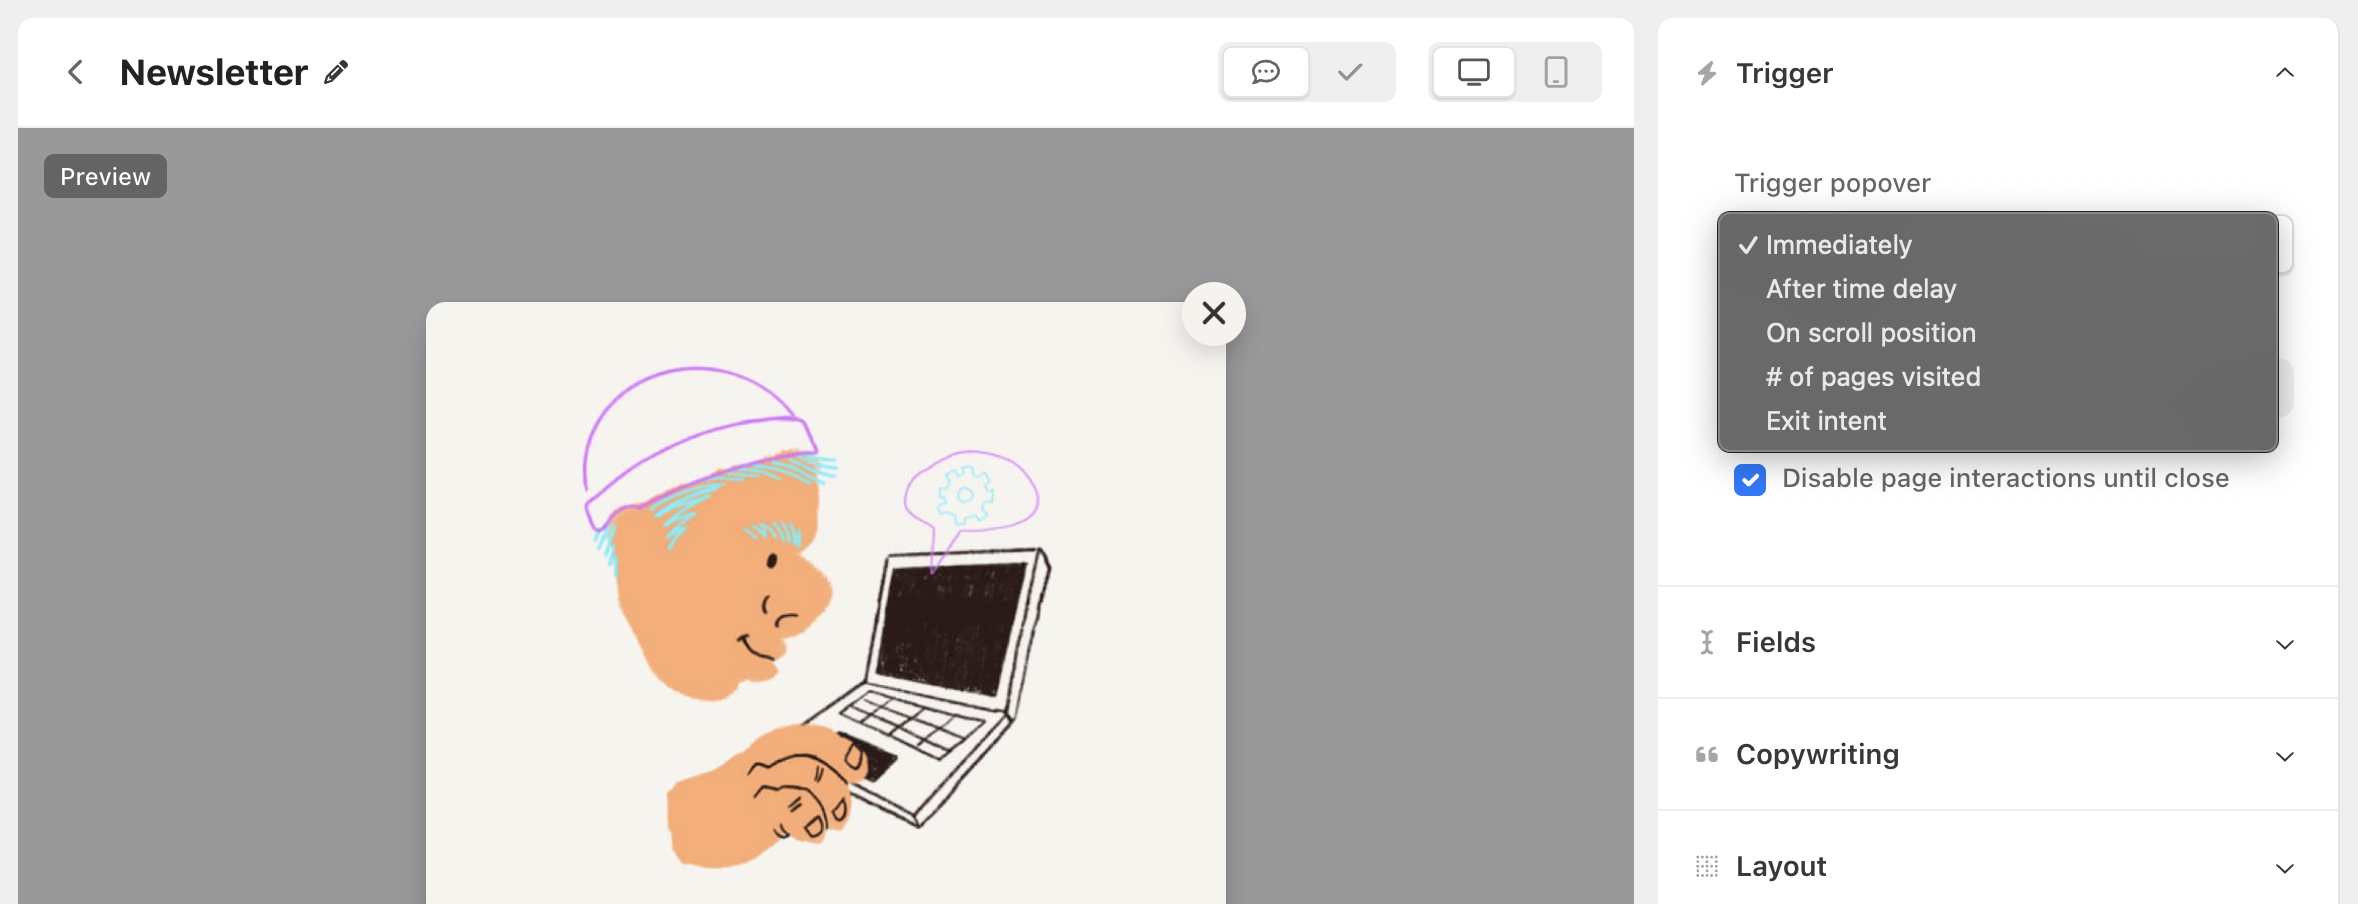
Our form builder allows you to customize your form's design and behavior, all without code. We won't get into every single detail here, but you'll want to select how your popover is triggered on your website. We have a few options:
- Immediately: Your popover is displayed on page load
- After time delay: Your popover is displayed after a customizable number of seconds
- On scroll position: Your popover is displayed after a customizable number of pixels scrolled down by your users.
- Number of pages visited: Your popover is displayed after a certain number of pages are visited by the same person.
- On exit intent: Your popover is displayed when a contact is about to leave your website.
After selecting how your popover is triggered, select which input fields you want enabled in the form. With Audienceful, you can create any number of custom fields to store data.
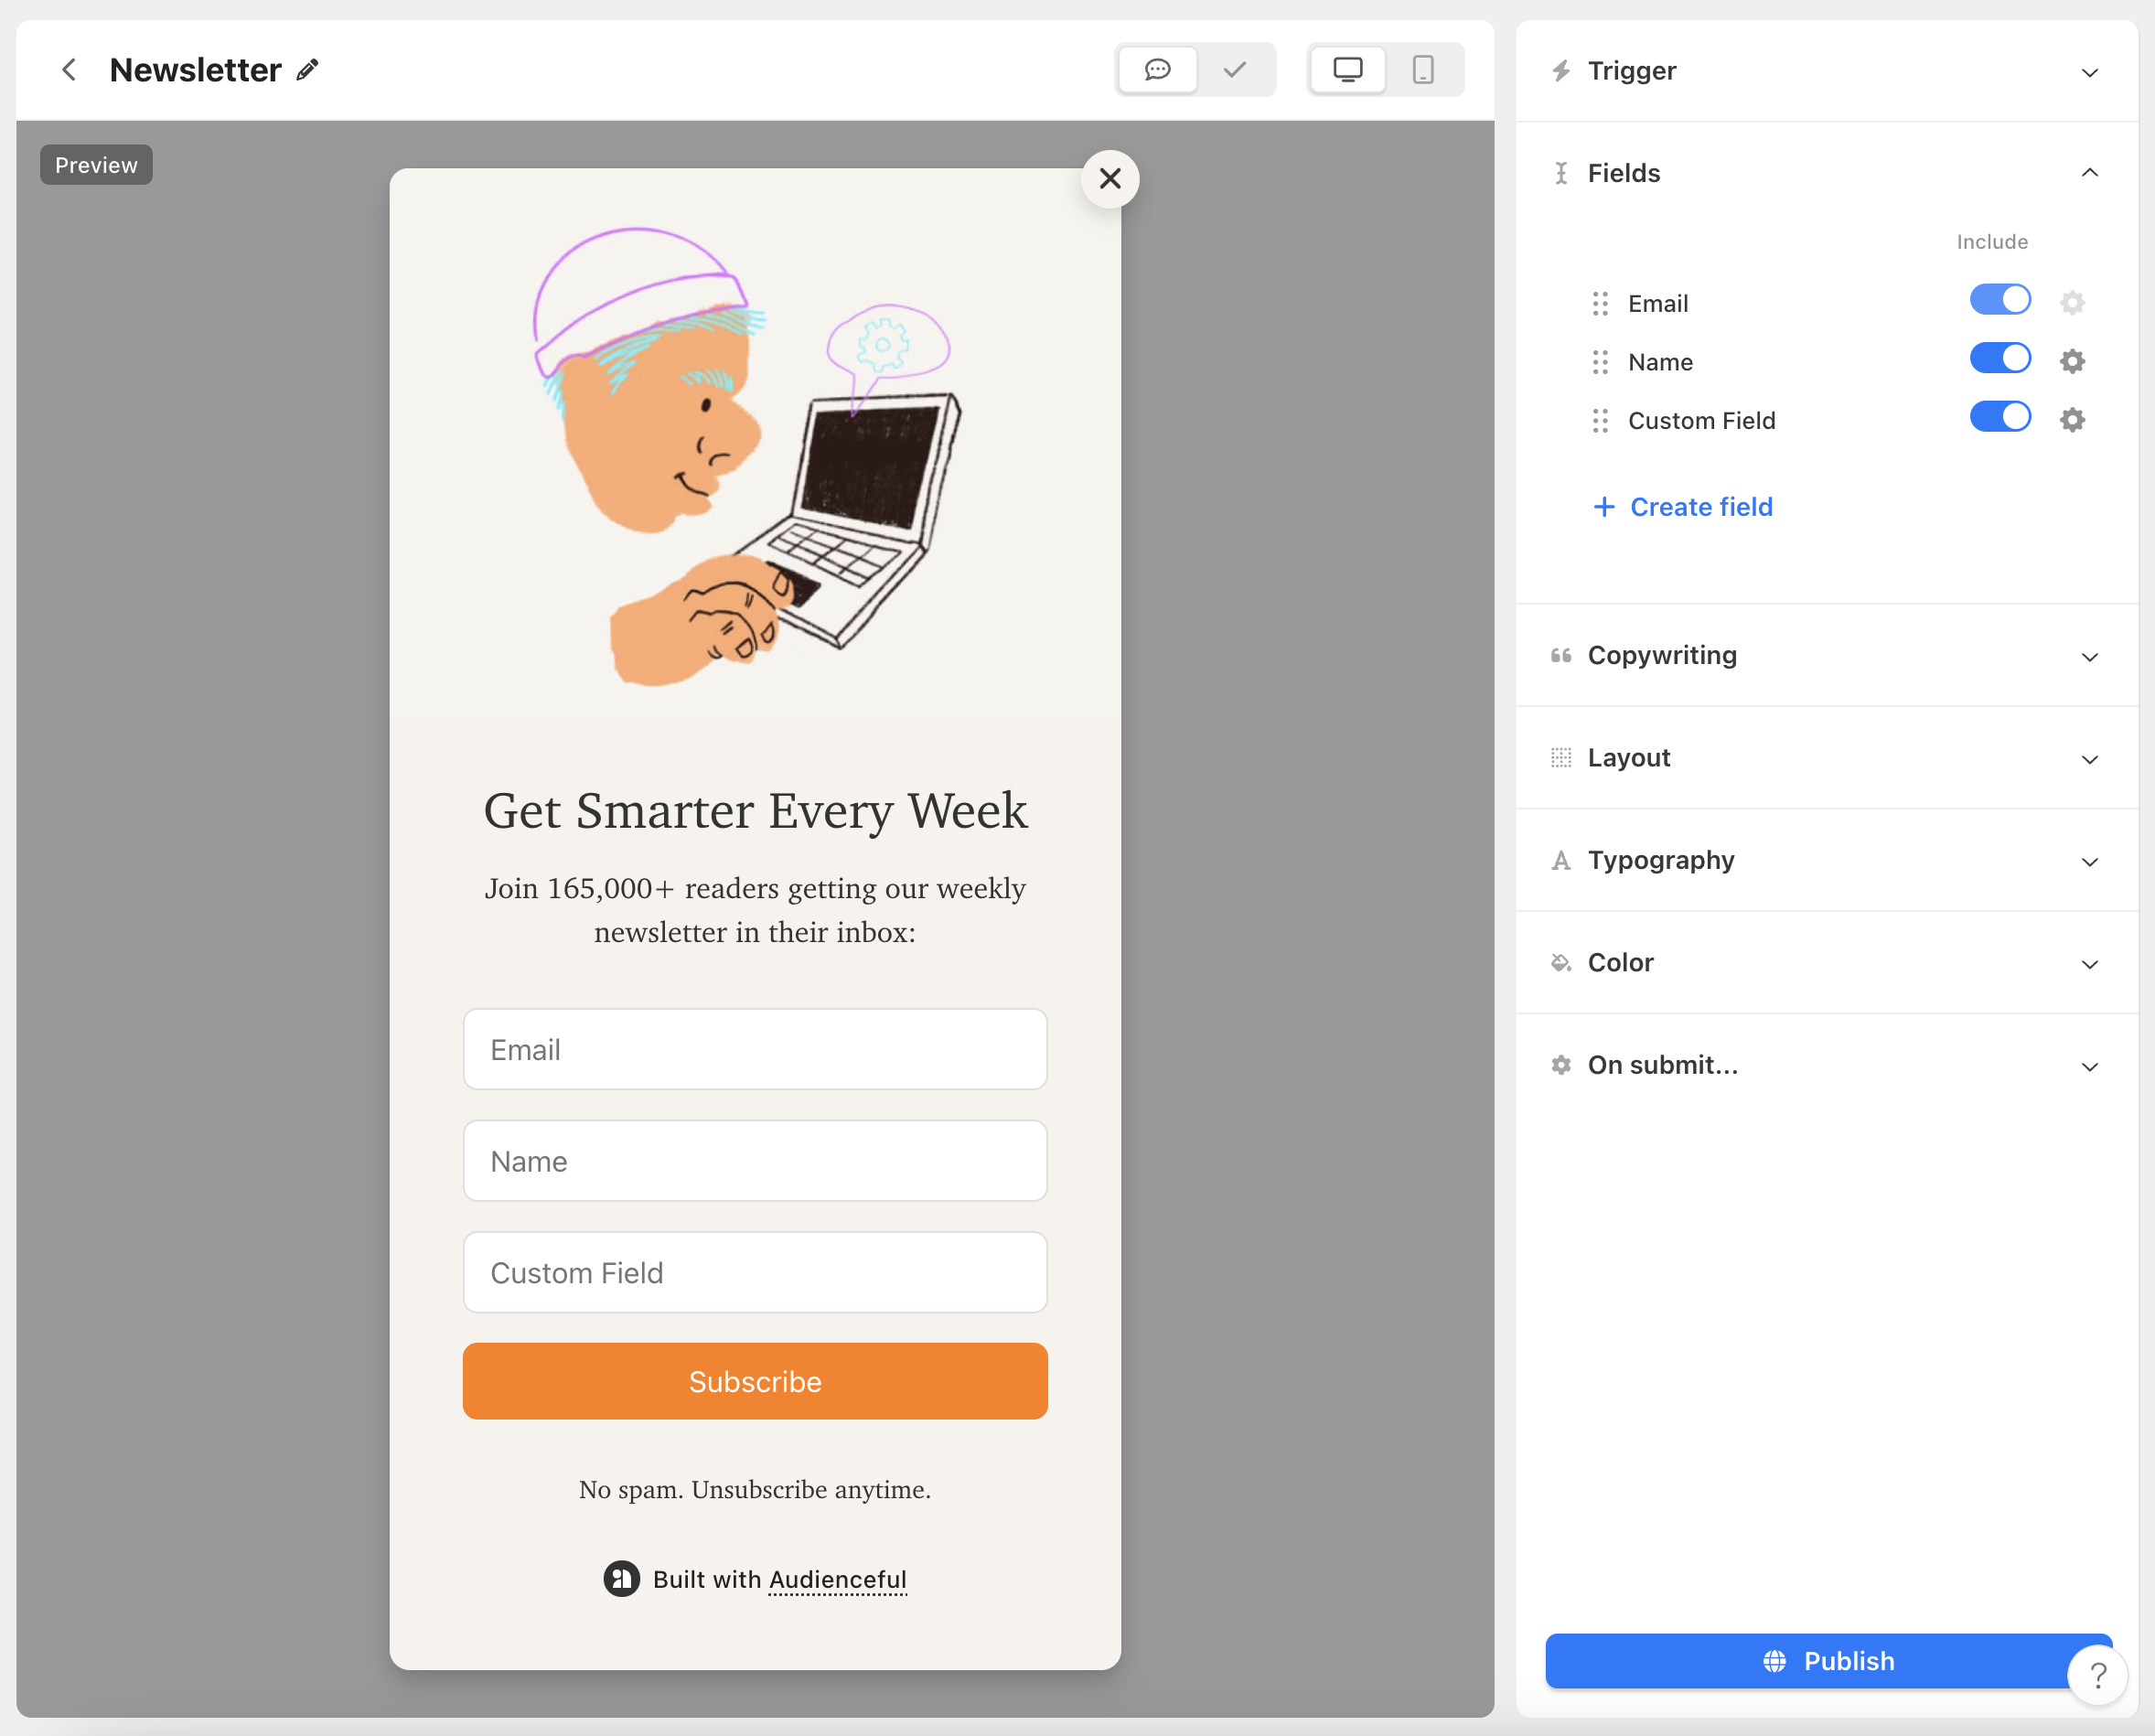
Once done, change any aspect of the design you want like behavior & tagging (to trigger automations) after your users submit the form.
You can also set custom success behavior like a simple Thank You message or redirect to a full success page.
4. Publish to your site
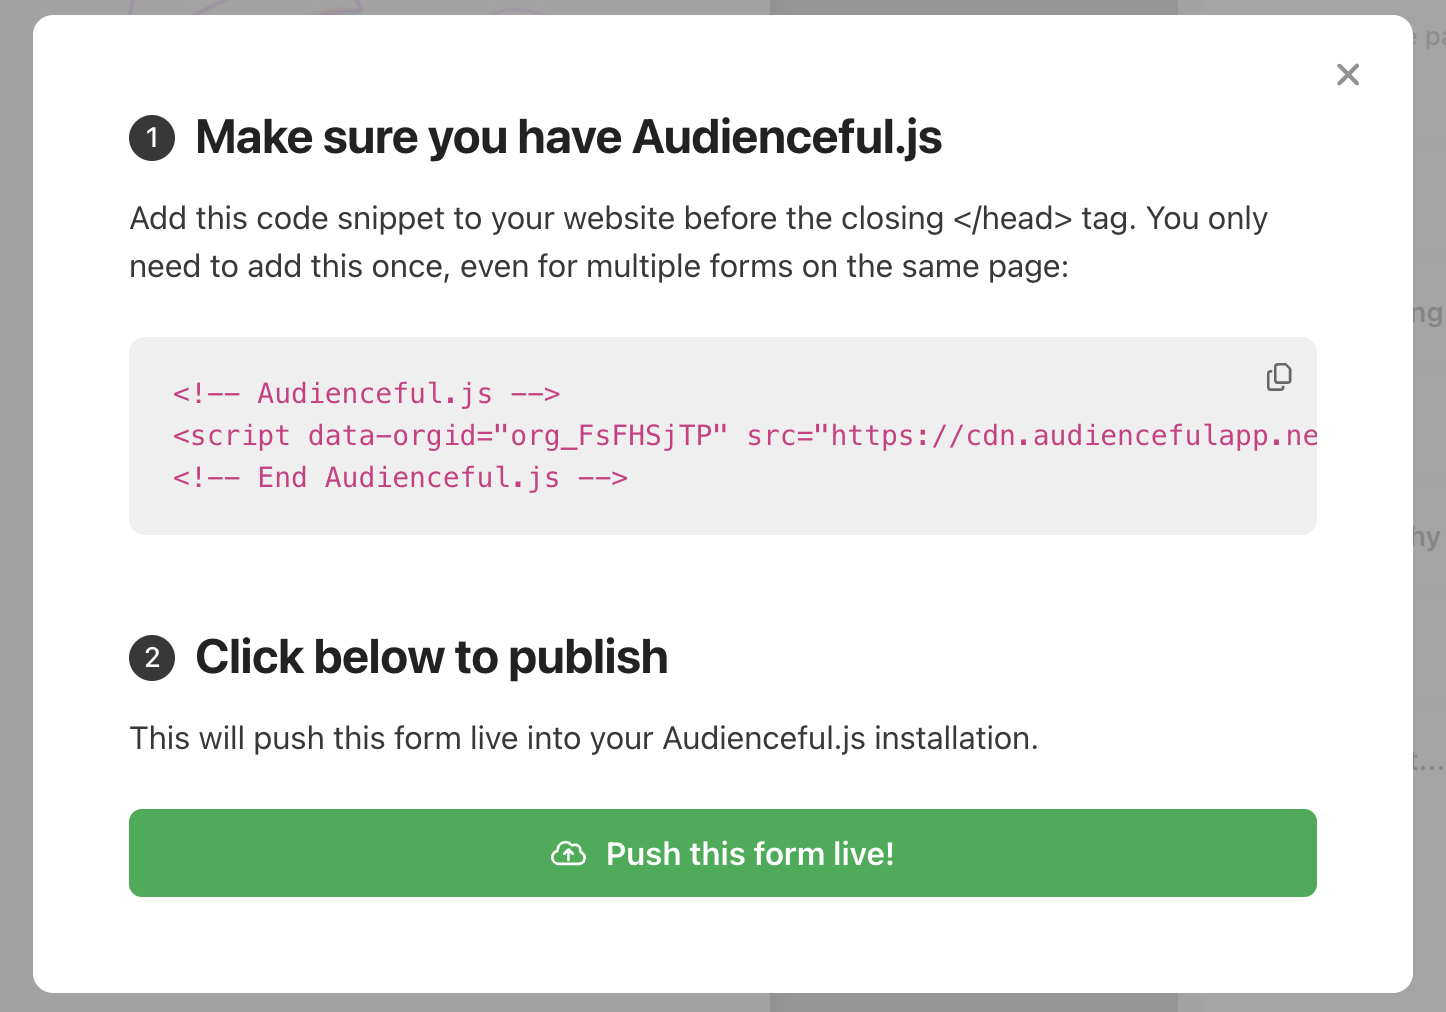
When you're ready to publish your Popover to your website, click the "Publish" button at the bottom right side of the screen. You'll be greeted with instructions on installing Audienceful.js to your website, our Javascript file which triggers your Popover and tracks conversions. Copy the line of code into the <head> tag of your website and then click the "Push this form live" button. Test your integration and you'll be set to go!
Bonus: Setup an automation
Once a user submits your form, you can build powerful automations or send bulk emails to your entire contact list.
For example, you can setup a welcome sequence or a lead magnet automation to deliver a coupon code, ebook or PDF that was promised inside the copy of your form.
If you'd like to see what other types of forms you can build with Audienceful, see all of our guides for implement different form types.
Need help?
If you’re having trouble adding forms to your site, email support@audienceful.com and we’ll get you set up!