Add Email Capture Forms & Newsletter Signup to Any Static Site with 1 URL
If you know how to code, static site generators (SSGs) and the JAMstack ecosystem is the easiest way to get a website up and running.
However, collecting signups and building an email list on static sites is not so easy. You need a backend for processing form submissions, not to mention a complicated SMTP workflow to send newsletters without deliverability issues, which adds annoying layers of complexity you probably weren't looking for.
In this guide we're going to use Audienceful's new POST url endpoint feature to make any raw HTML form on your site work instantly. You'll be able to collect unlimited email signups for free, and send minimalist email newsletters & welcome sequences without hassle.
How to make any email signup form on your site function without a backend
Here's the step-by-step instructions for how to make any form on your site function just by pasting in a single URL.
This works on any raw HTML or static site...we have folks using this method with Next.js, Gatsby, Hugo, Nuxt, Jekyll, 11ty (Eleventy), Astro, Hexo and more. Also, it works on all static site hosts, whether you're on Netlify, Vercel or Github Pages.
1. Create a basic HTML form
Add a generic signup form to the section of your site where you want to collect email subscribers. Here's the code for a super basic single field email form:
<!-- add your url to the form action attribute-->
<form action="PASTE-URL-HERE" method="post" class="audienceful-form">
    <div class="f-row">
        <label for="email">Email Address</label>
        <input name="email" type="email" id="email" placeholder="Enter your email..." required>
    </div>
    <!--add custom fields here-->

    <button type="submit">Submit</button>

    <!--blocks spam signups-->
    <div style="position: absolute; left: -5000px;" aria-hidden="true"><input type="text" name="b28-ft" tabindex="-1" value=""></div>
    <div class="a-badge">Powered by <a href="https://audienceful.com/?utm_source=form" target="_blank" title="Audienceful - email marketing from the future">Audienceful</a></div>
</form>


<!-- customize or remove styling to fit your site -->
<style type="text/css">
    .audienceful-form { max-width:400px; padding:2rem; margin:0 auto; font-family:-apple-system, BlinkMacSystemFont, "Segoe UI", Roboto, Helvetica, Arial, sans-serif; }
    .audienceful-form label { font-size:1rem; line-height:1.5rem; display:inline-block; margin-bottom:0.5rem; }
    .audienceful-form input, select { font-size:1rem; line-height:1.5rem; width:100%; color:black; border:1px solid #ced4da; border-radius:6px; padding:0.375rem 0.75rem; box-sizing: border-box; }
    .audienceful-form input[type=checkbox], input[type=radio]  { width:auto; }
    .audienceful-form button { font-size:1rem; line-height:1.5rem; background-color:black; color:white; display:block; cursor:pointer; border-radius:0.25rem; vertical-align:middle; border:1px solid transparent; padding:0.375rem 0.75rem;  }
    .audienceful-form .f-row { margin-bottom:1.2rem; }
    .audienceful-form .a-badge { margin-top:1.8rem; font-size: 12px; color:#888; }
    .audienceful-form .a-badge a { margin-top:1.8rem; font-size: 12px; color:#888; }
</style>
2. Register a free account & create a form url
Setup your Audienceful account by clicking here.
After setup, head to Settings > Signup Forms, and click "Create New."
Here you can configure the following options:
- A form nickname for knowing who subscribed via what form
- Auto-tagging for new subscribers (useful for segmentation)
- Redirect URL option on success or failure
- Double Opt-in option for requiring subscribers to click a button in an email to confirm their subscription
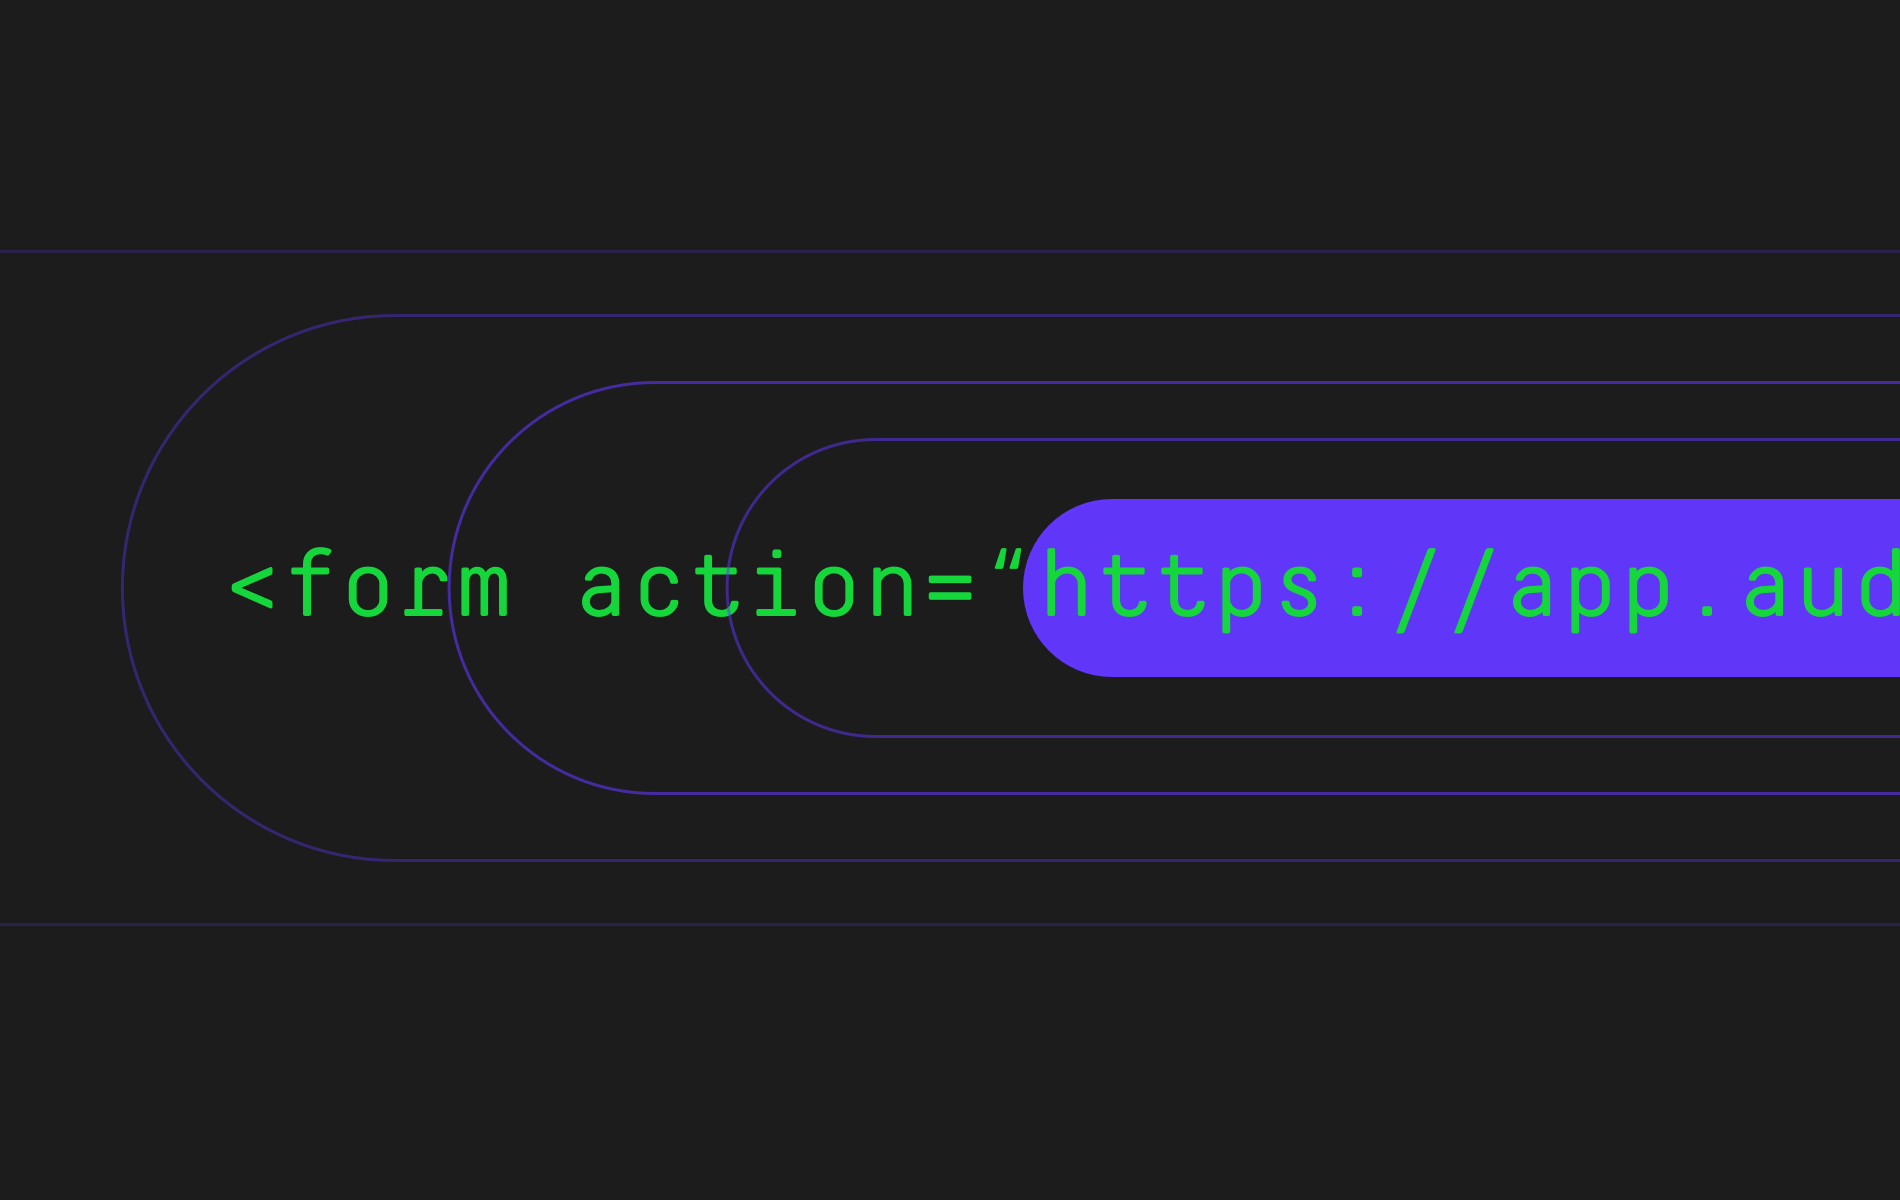
3. Paste your URL into the form action on your Static Site
After you've generated the raw url, you can now paste this into you form's Action property (see below). Make sure the form method is set to POST.
<form action="PASTE-URL-HERE" method="post" class="audienceful-form">
That's it! You can test your form and it should work.
4. Secure your email capture form from bots and add any custom fields
Once you've submitted an email address and it appears in Audienceful, follow this guide to secure your form from bots. This is extremely important as virtually every website on the internet gets hit by automated email signup bots regularly these days and will destroy your email list over time.
Once your form is secure, you can also add custom fields into your form if you want to collect more than just email addresses (eg. first name, last name, company, phone number, etc.).
As long as the data-name on your HTML form field matches the data-name of the field in Audienceful, it will work automatically!
5. Start building your email list and sending newsletters
If you want to start sending emails to your subscribers you can stay on the free plan or upgrade to a paid account to get access to the highest quality shared IPs on the platform and custom sending domains (paid users get fully separate sending infrastructure to insulate their sender reputation from beginners on the free plan).